Setup Windows 10 for IoT on Raspberry Pi 2
What you need:
- Windows 10 Insider Preview
- Raspberry Pi 2 board
- Power supply with 5V / 1.0A (recommended use a powerbank)
- 8Gb or higher micro SD Card (recommended Class 10 or higher)
- HDMI cable
- TV / Monitor with HDMI input
- Ethernet cable
Step 1 – Download Windows 10 for IoT
- Visit to Windows IoT Download, select the build that you want. In this topic, we will select Windows 10 IoT Core for Raspberry Pi 2.
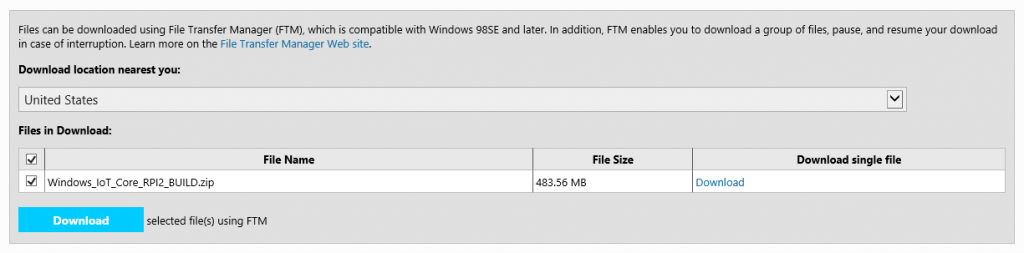
- Sign in to Windows Embeded Connect site, accept two (2) EUALs and start download the file. (It is recommended you use “File Transfer Manager” to download)
- Unzip the downloaded file to a temporary folder.
Step 2 – Preparing microSD card
- Plug your microSD card to your Windows 10 computer/laptop. (Must be physical machine)
- Run Command Prompt in Administrator mode.
- Run diskpart
- Run list disk
- Take note of your microSD card disk number
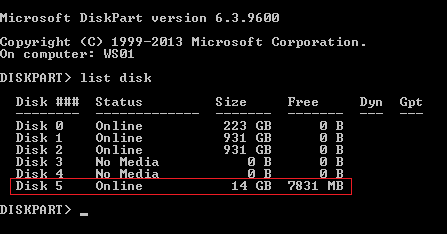
- Run the following code and change PhysicalDriveN to the drive number that you obtain from the previous step.
dism.exe /Apply-Image /ImageFile:flash.ffu /ApplyDrive:\\.\PhysicalDriveN /SkipPlatformCheckStep 3 – Power up Raspberry Pi 2
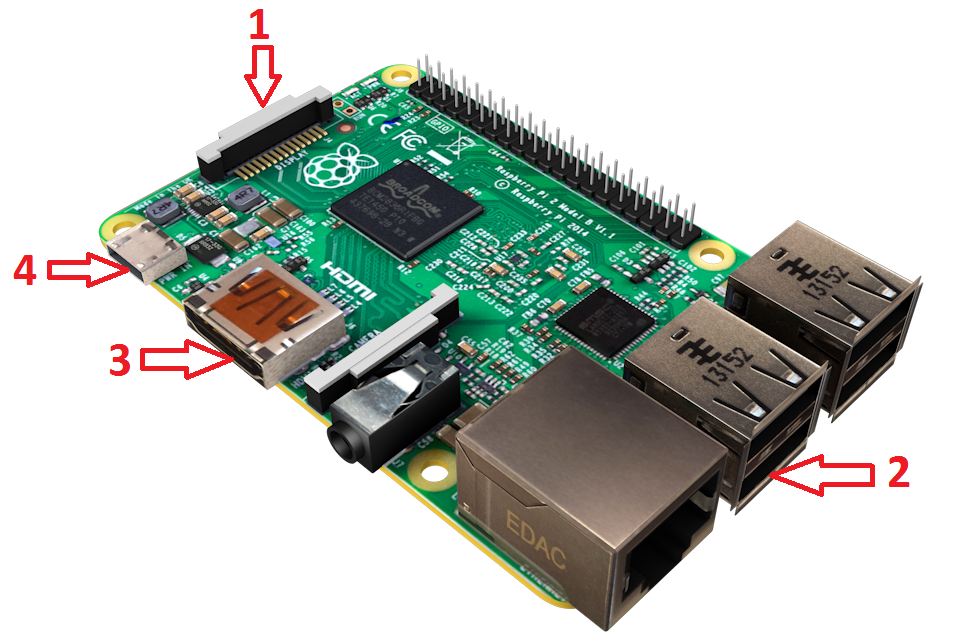
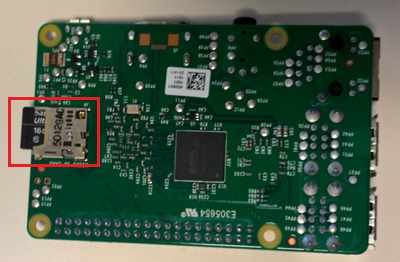
- Remove your microSD card from your card reader and put it into your Raspberry Pi 2
- Connect the network cable to the network port.
- Connect the Raspberry Pi 2 to your TV / Monitor.
- Connect the power to the microUSB port (next to HDMI port)
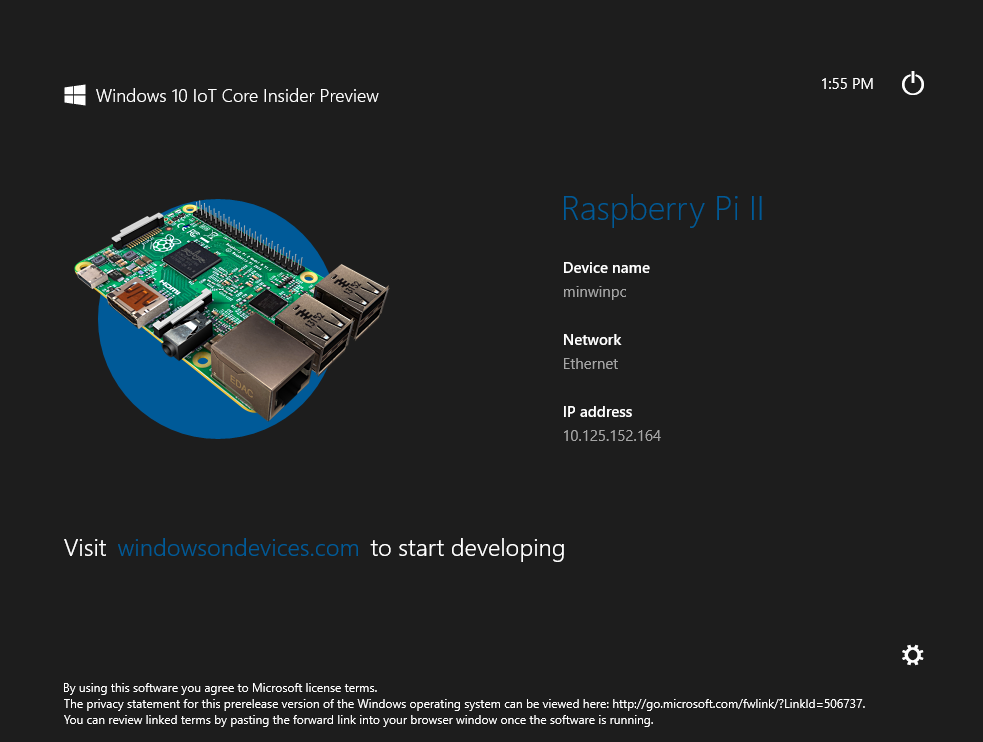
For the first time booting up Windows 10 for IoT on Raspberry Pi 2, will take about 4 ~ 5 minutes. While it is booting up for first time, the screen maybe in black, so be patient, sit back, and wait.
Once you have successfully boot into it, the next time, it will only take about 1 minutes or less to start.